注意:
文中的 python 系统名、mysite 项目只是站主在本次操作中随意取的名称,读者可以根据自己的喜好换成任意别的名称
正文:
步骤一:系统环境要求
(1)服务器的系统需要是 CentOS Linux 8 版本
(2)服务器要关闭防火墙
(3)服务器要关闭 SELinux
(4)服务器系统要配置好可用的软件源
(5)服务器要能够连接外网
步骤二:安装图形化界面
[root@django ~]# yum -y groupinstall 'Server with GUI'
[root@django ~]# systemctl set-default graphical.target
[root@django ~]# reboot
(注意:如果要到远程服务器上使用 PyCharm,则在 ssh 的时候需要添加 -X 参数:# ssh -X <用户>@)
步骤三:安装 Django
3.1 升级 pip 环境
[root@django ~]# pip3 install --upgrade pip
3.2 安装 Django
[root@django ~]# pip3 install django
3.3 将 Django 项目的目录指定为 Django 环境
[root@django ~]# python3 -m venv django_env
步骤四:创建 Django 项目
4.1 进入 Django 环境
[root@django ~]# source django_env/bin/activate
4.2 创建 Django 项目
(django_env) [root@django ~]# django-admin startproject mysite
4.3 显示已创建的 Django 项目
# cd mysite/
(django_env) [root@django mysite]# tree
.
|-- manage.py
`-- mysite
    |-- __init__.py
    |-- asgi.py
    |-- settings.py
    |-- urls.py
    `-- wsgi.py

1 directory, 6 files
步骤五:部署 PyCharm
5.1 解压 PyCharm
# tar -xvf pycharm-community-2020.1.tar.gz
5.2 修改 PyCharm 占用的内存以提高性能
5.2.1 64 位系统修改 PyCharm 占用的内存以提高性能
# vim pycharm-community-2020.1/bin/pycharm64.vmoptions
将以下内容:
-Xms128m
-Xmx750m
......
修改为:
-Xms2048m
-Xmx4096m
......
5.2.1 32 位系统修改 PyCharm 占用的内存以提高性能
# vim pycharm-community-2020.1/bin/pycharm.vmoptions
将以下内容:
-Xms128m
-Xmx750m
......
修改为:
-Xms2048m
-Xmx4096m
......
5.3 启动 PyCharm
# ./pycharm-community-2020.1/bin/pycharm.sh
5.4 初始化 PyCharm
5.4.1 勾选 “I confirm that ……”,之后点击 “Continue”
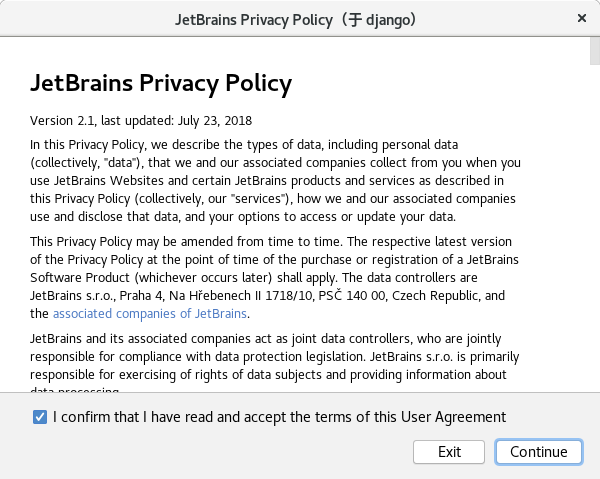 (图:1)
(图:1)
5.4.2 点击 “Don’t Send”
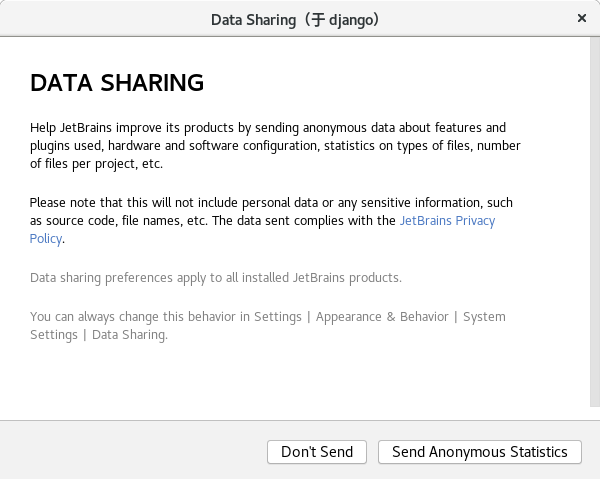 (图:2)
(图:2)
5.4.3 选择 “Light” 之后点击 “Next:Launcher Script”
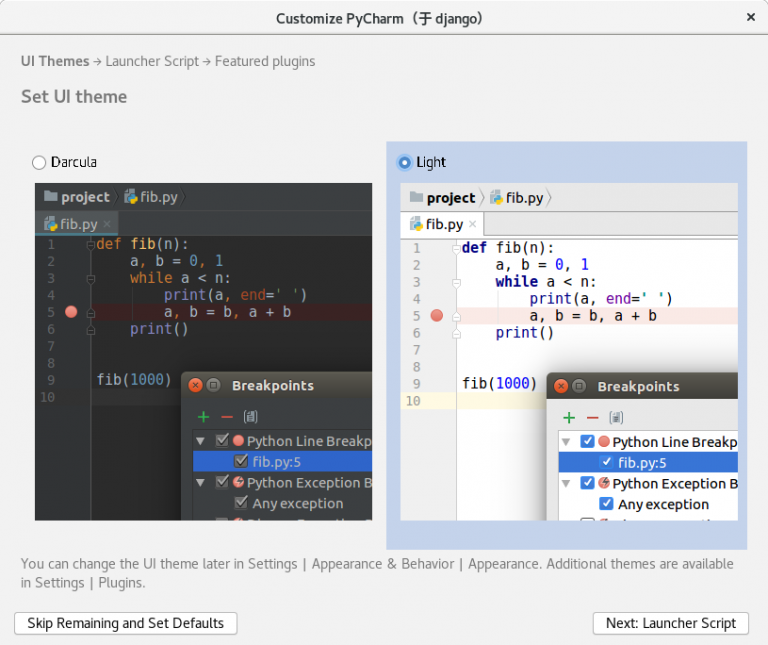 (图:3)
(图:3)
5.4.4 点击 “Open”
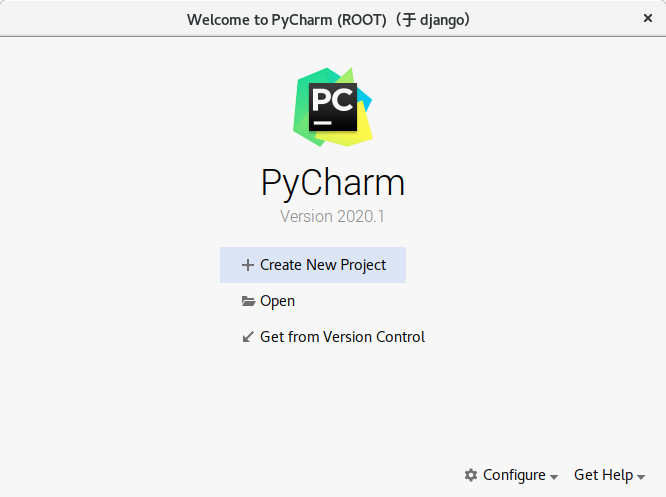 (图:4)
(图:4)
5.4.5 选择刚刚创建的 Django 项目目录,并点击 “OK”
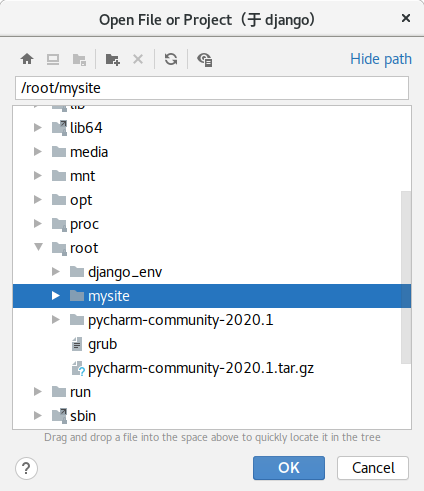 (图:5)
(图:5)
5.4.6 关闭提示
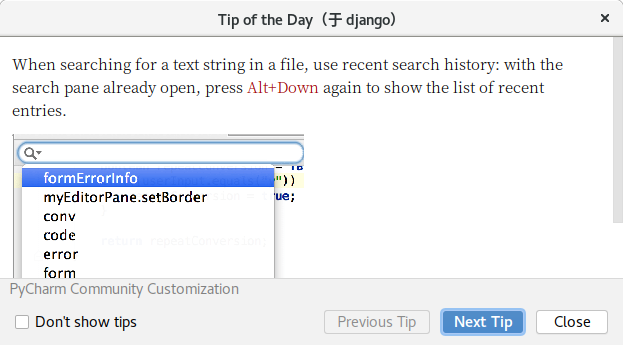 (图:6)
(图:6)
5.4.7 此时就可以开始制作 Django 网页
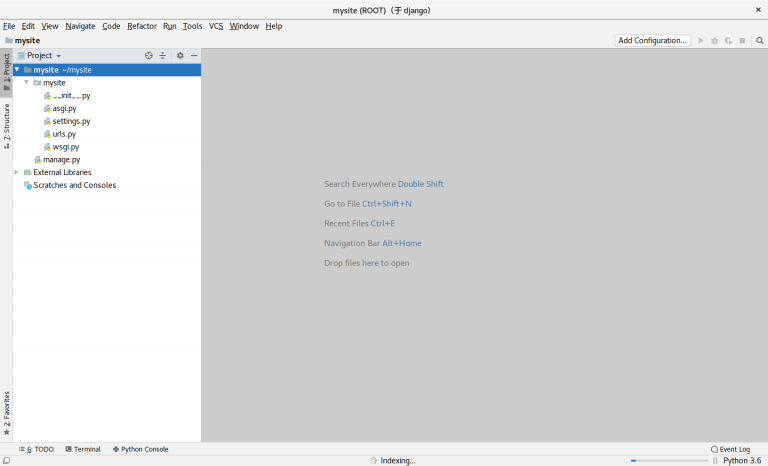 (图:7)
(图:7)
步骤六:PyCharm 卡顿的处理方法
6.1 方法一:关闭 PyCharm 的代码自动补全
(1)选择左上角的 “File” 点击 “Settings”
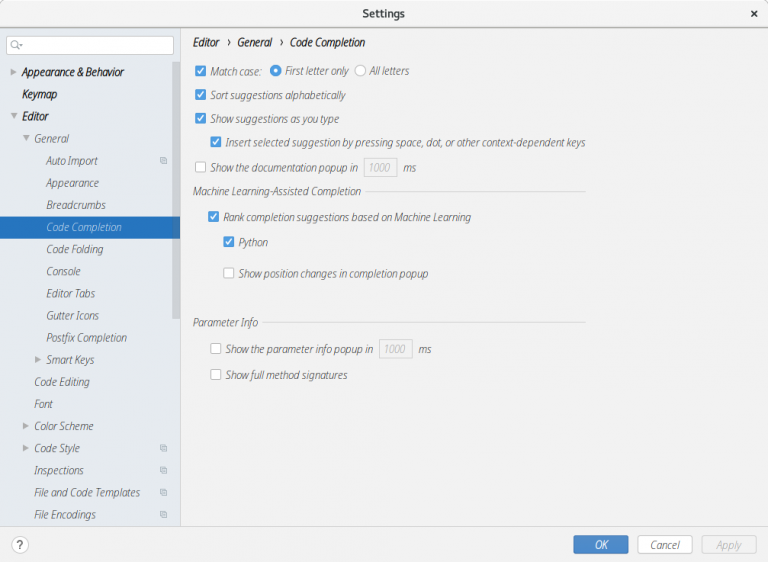
(2)选择 “Editor” 下的 “Code Completion”
(3)建议将 “Code Completion” 设置成如下图所示
 (图:8)
(图:8)
(4)点击 OK
6.2 方法二:开启 “PyCharm” 的省电模式
选择左上角的 "File" 点击 “Invalidate and Restart”
补充一:Django 创建项目的命令
# django-admin startproject <project>
补充二:Django 创建子项目的命令
# django-admin startapp <subproject>
补充三:Django 开启 Web 服务的命令
# python3 manage.py runserver <local IP address>:<port>
